How to Hide the Last Name Field from the Squarespace Newsletter Block
Easy ways to delete the field if you feel like it’s redundant
When you want people to do a specific action on your website you should try to remove as many obstacles on their way as possible. Any extra detail or effort can divert a user’s attention. Filling out a newsletter form is the perfect example of the situation where you want to keep things simple with little steps to perform. Collecting emails and first names is just enough for your newsletter database, especially since you are going to address them by their first name in the newsletter anyway. However, for some reason Squarespace doesn’t have option to collect first names only. In this blog post, we are going to show you several ways to hide away the unnecessary field with a bit of CSS code.
Try Squarespace for free – and save 10% when you purchase a subscription with code APPLET10
For starters, choose the page you want to add the newsletter block to and click Edit in the upper left corner of the page. Scroll down, click Add section in between needed setcions and Add blank section. In the upper left corner of the section click Add block and choose Newsletter among the options.
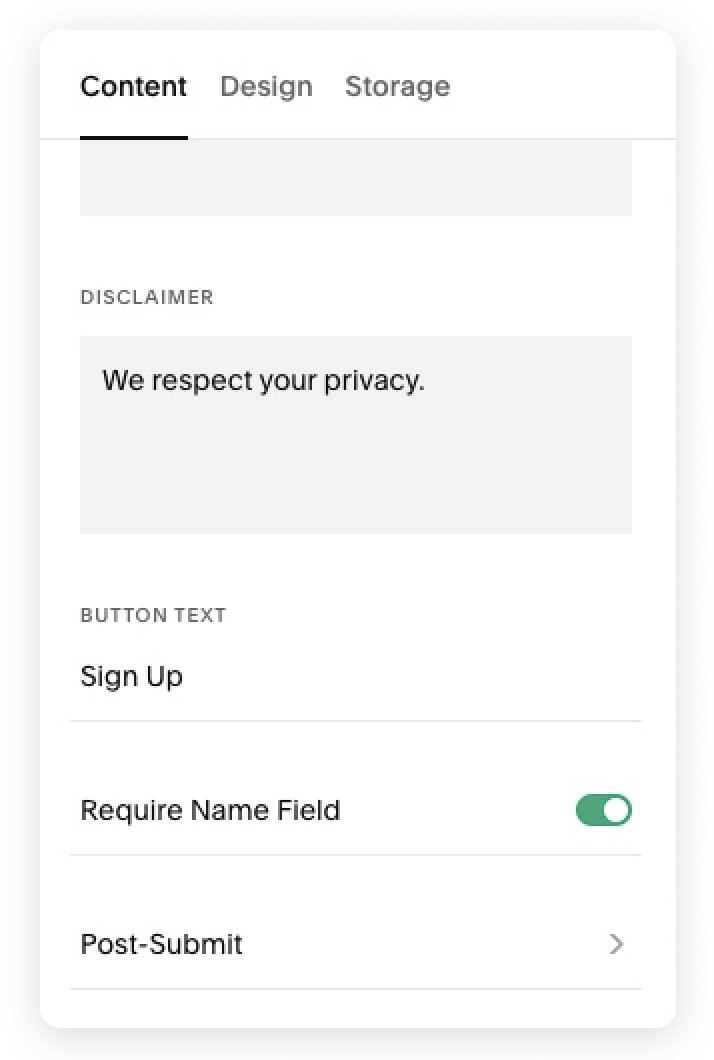
Click the pencil icon and go into the Content settings of the newsletter block. Scroll down to find the require the name field toggle. When you enable it, of course you will got the first and last name fields. Now let’s get rid of the last name field with a little bit of code.
Hide the last name field across the website
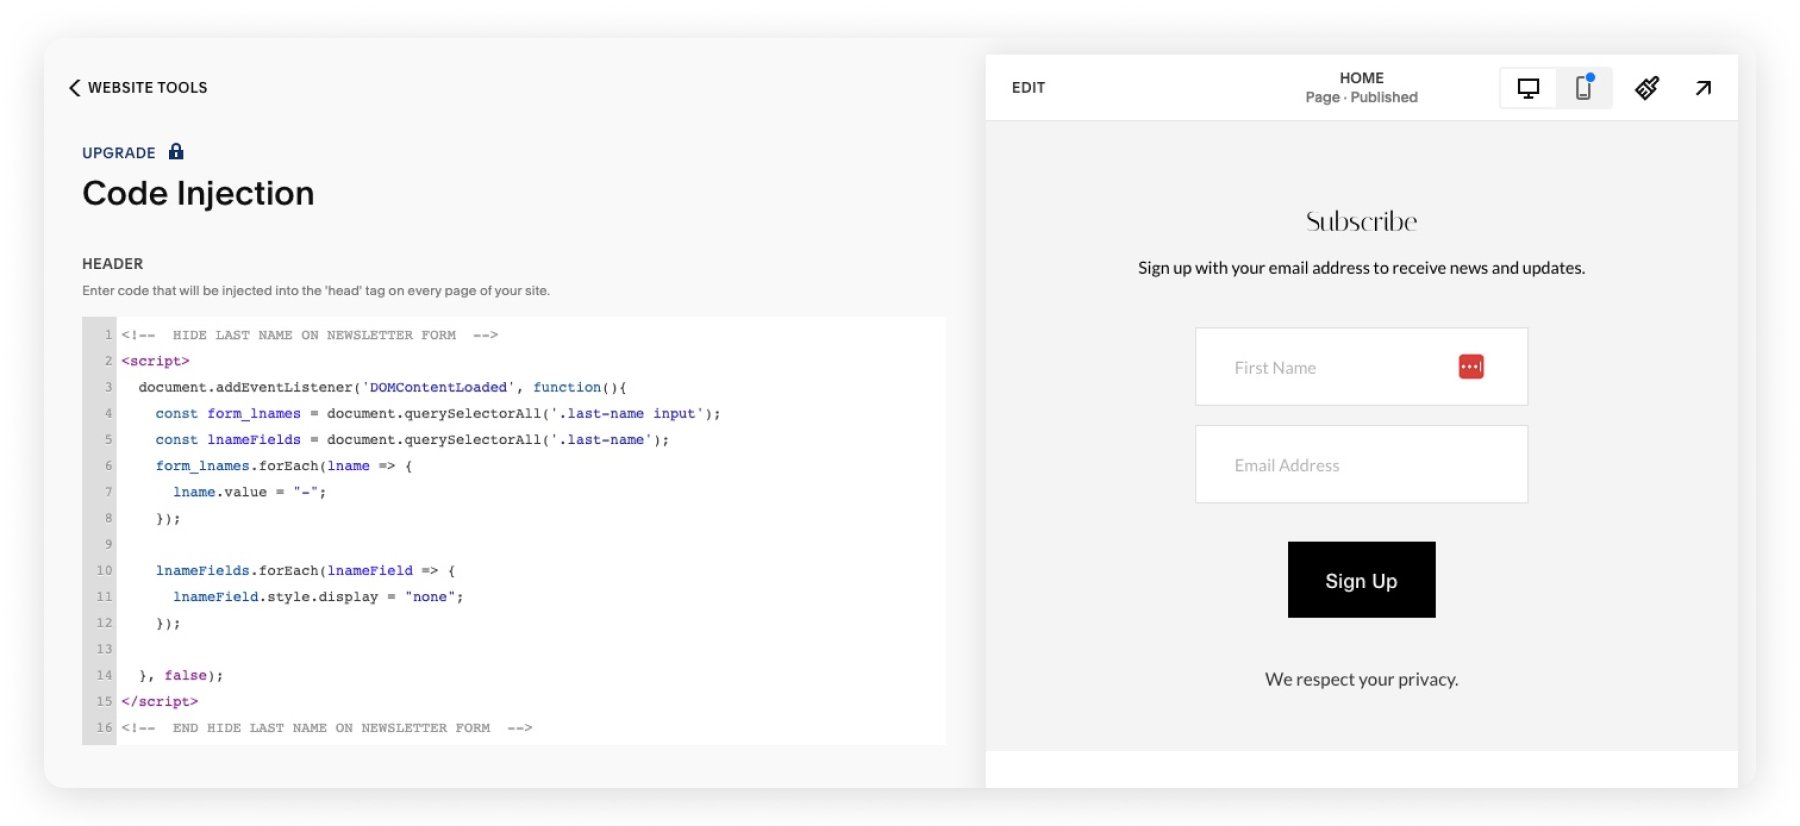
Go to Pages > Website tools > Code injection and paste in the code snippet you see below either into the header or the footer window (better into footer). Click Save in the upper left corner of the screen and refresh your page. This code should hide the last name field in all the newsletter block forms across your website. It’s important to understand, that we cannot actually delete this field, we are hiding it from the user’s view. When the form is submitted, Squarespace expects some value to be in your responses table. In this case, you will see that the last name goes through as a dash.
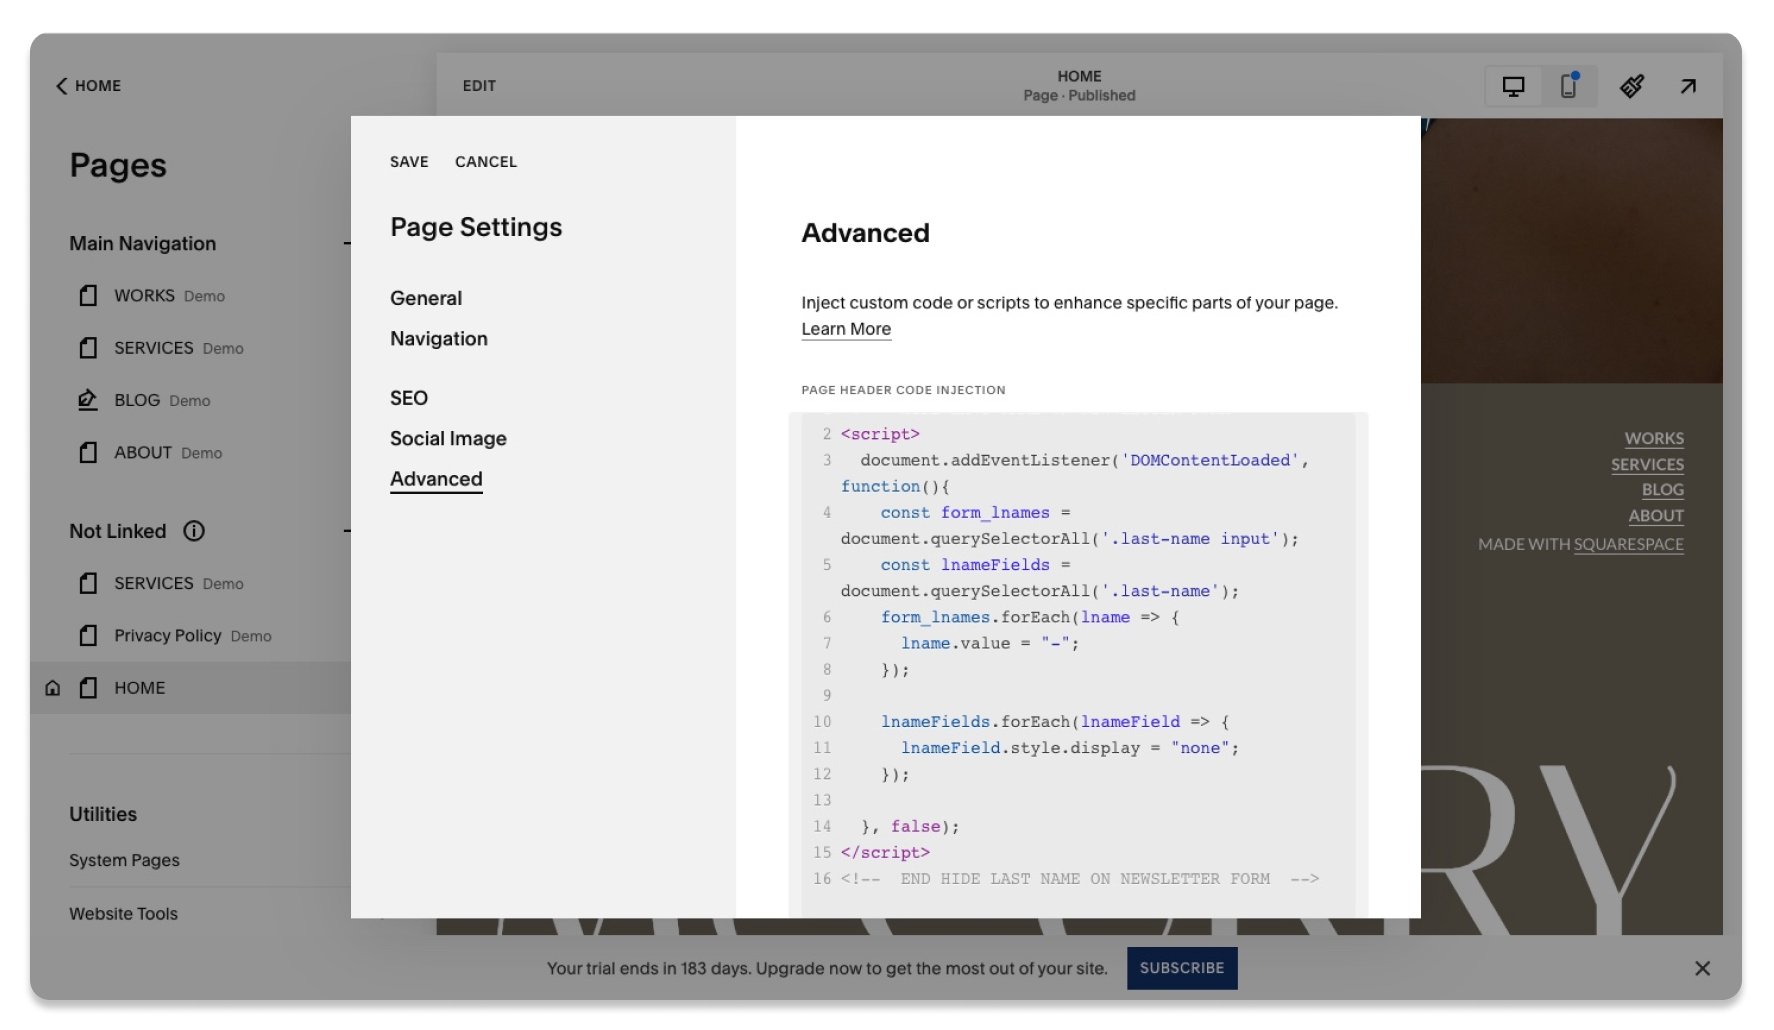
You can also hide last name from the particular page on your Squarespace website using the same snippet. Go to the pages menu, find the page you need and click the gear icon next to it. A page settings window will pop up. Click Advanced on the right, paste the snippet, and click Save in the upper left of the pop-up.
<!--  HIDE LAST NAME ON NEWSLETTER FORM  -->
<script>
  document.addEventListener('DOMContentLoaded', function(){
    const form_lnames = document.querySelectorAll('.last-name input');
    const lnameFields = document.querySelectorAll('.last-name');
    form_lnames.forEach(lname => {
      lname.value = "-";
    });

    lnameFields.forEach(lnameField => {
      lnameField.style.display = "none";
    });

  }, false);
</script>
<!--  END HIDE LAST NAME ON NEWSLETTER FORM  -->
Hide the last name field in a specific newsletter block
Sometimes you don’t need the last name field to be hidden everywhere, but you need to target one particular block. There is a way to do this too.
You will need to know the ID of the section you are targeting, so first things first, we advise you to install Squarespace ID finder Google Chrome plugin. Once you install it, reboot your browser. You will find a new plugin icon that looks like inverted hashtag in the upper right corner of the browser window. Click it once, and you will see all the IDs on your page.
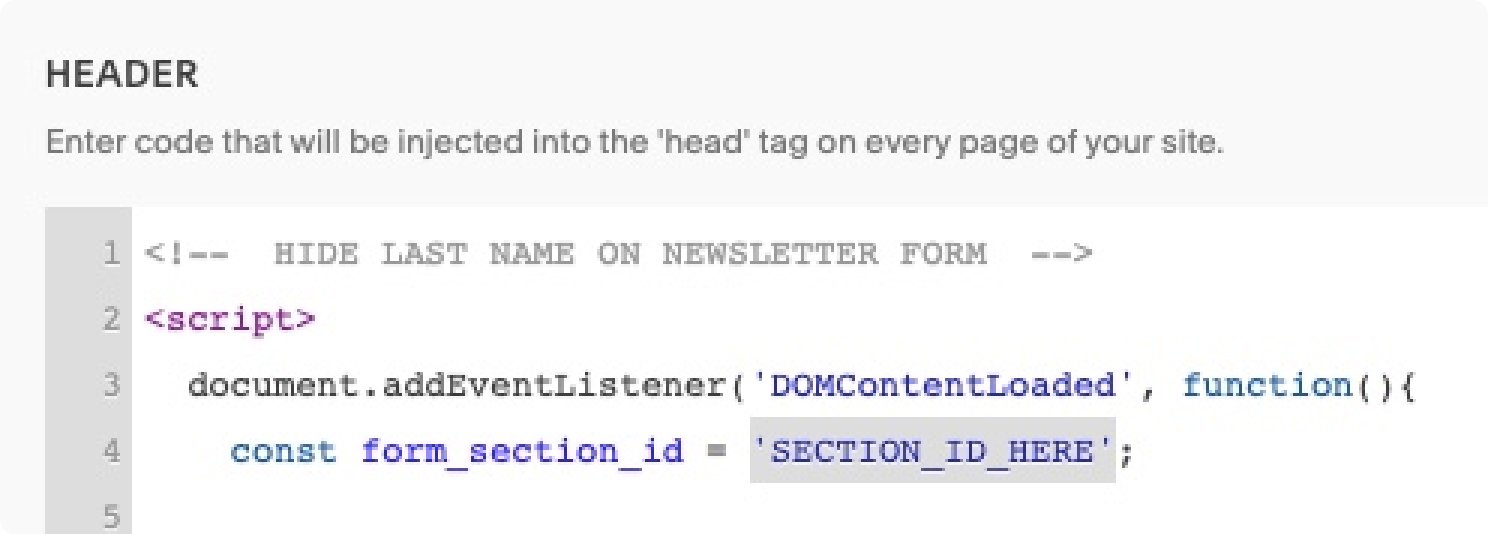
Insert this second snippet of code into Pages > Website tools > Code injection. Only this time we need to modify it a bit – put the specific section ID into this code.
<!--  HIDE LAST NAME ON NEWSLETTER FORM  -->
<script>
  document.addEventListener('DOMContentLoaded', function(){
    const form_section_id = 'SECTION_ID_HERE';

    const form_lnames = document.querySelectorAll("section[data-section-id='"+form_section_id+"'] .last-name input");
    const lnameFields = document.querySelectorAll("section[data-section-id='"+form_section_id+"'] .last-name");
    form_lnames.forEach(lname => {
      lname.value = "-";
    });

    lnameFields.forEach(lnameField => {
      lnameField.style.display = "none";
    });

  }, false);
</script>
<!--  END HIDE LAST NAME ON NEWSLETTER FORM  -->
Turn the freshly installed plugin on. You will need to grab the section ID which is the blue one. To grab it simply click it once and it will copy itself in the buffer. Now paste it instead of 'SECTION_ID_HERE', and don’t loose the semicolon, it should stay put. As always, don’t forget to click Save.


